Using Whiteboard Animation in a Presentation
Use a whiteboard drawing clip in a presentation without hiding the main point. Plan playback, readable labels, narration and a still-image fallback.

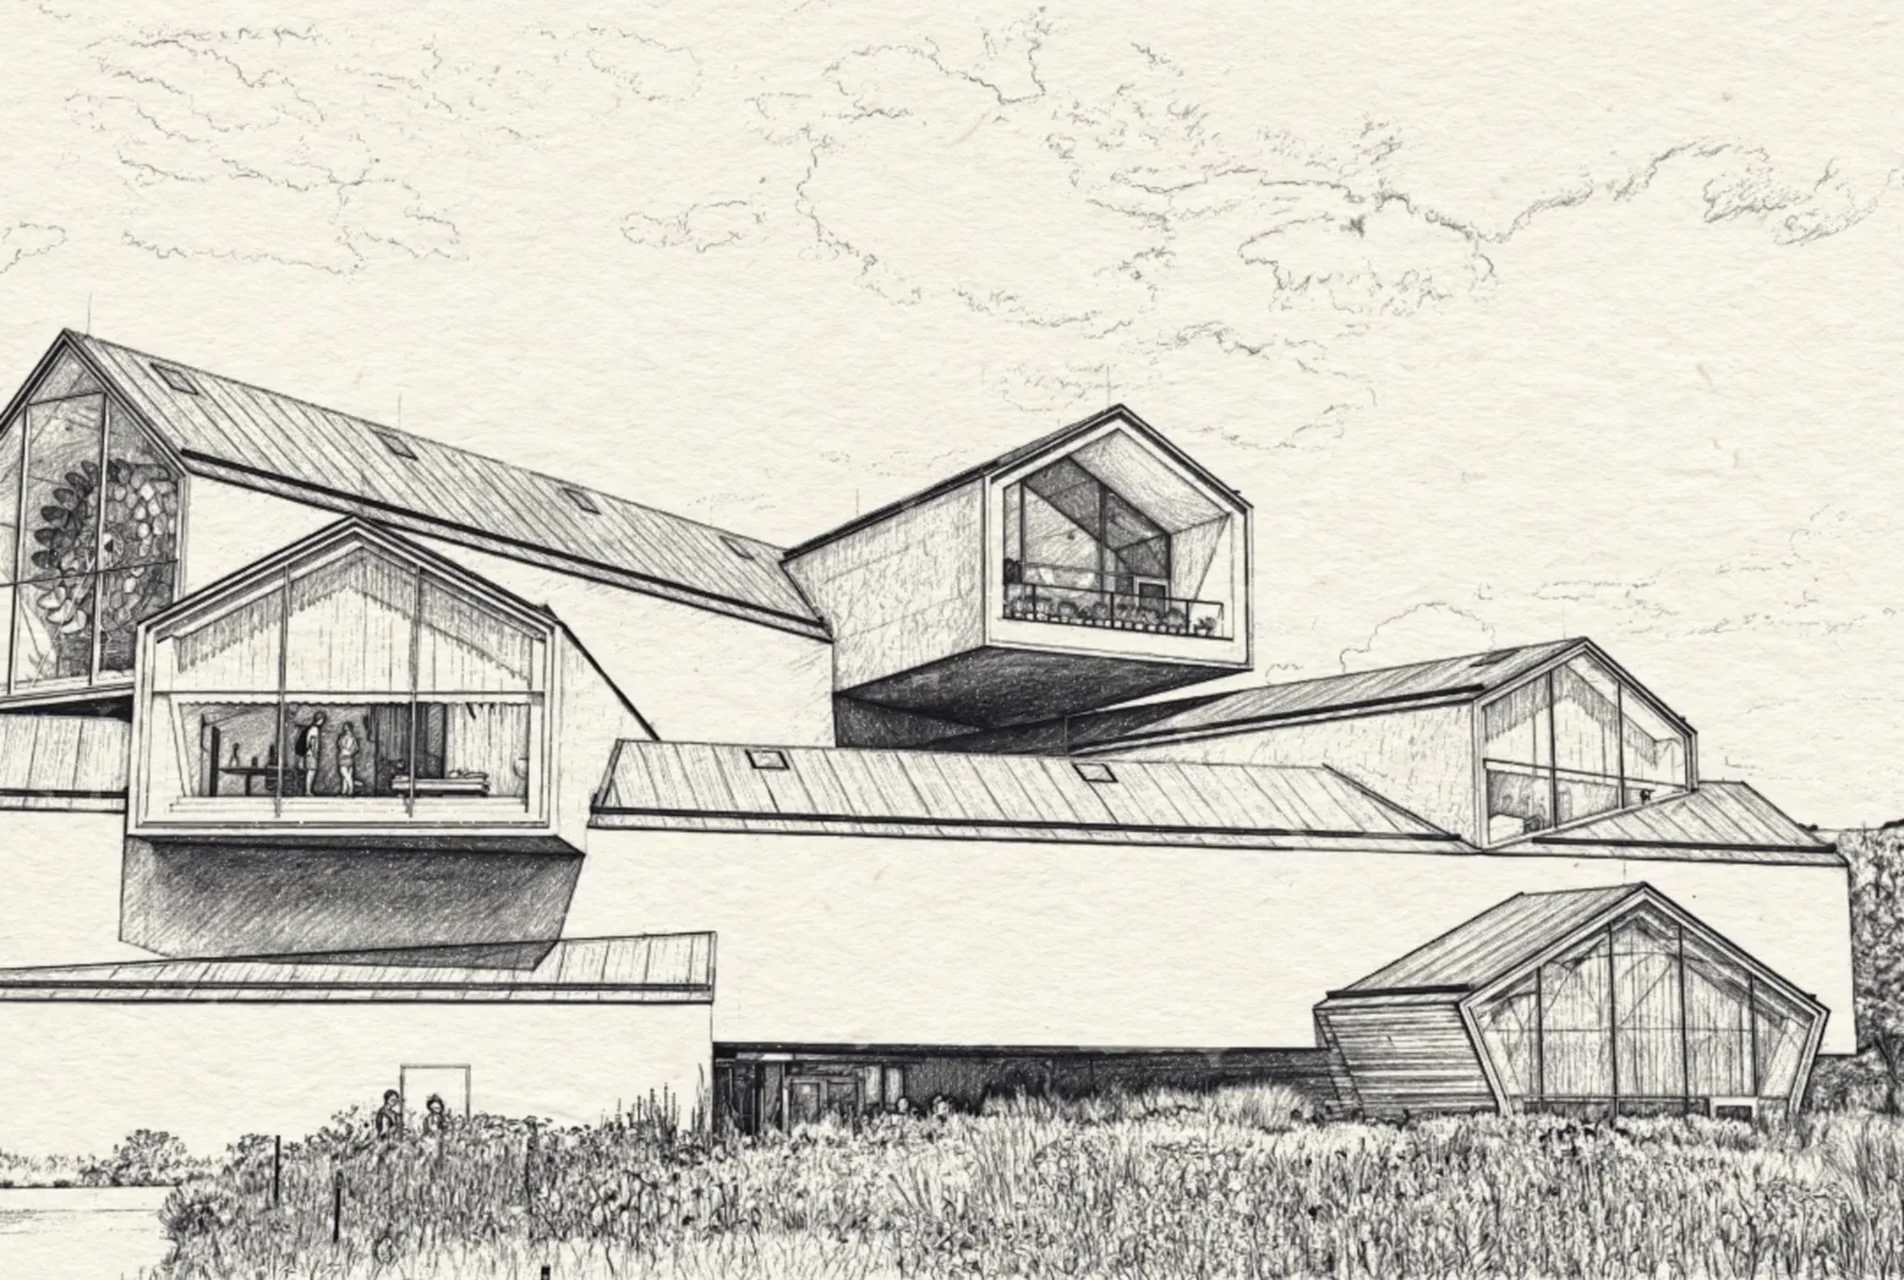
Use a clip where the reveal has a purpose
A drawing video is most useful in a presentation when its appearance supports something you are saying. It might introduce an object, give an audience a moment to look at a place, or lead into a diagram you will explain. It does not need to replace every slide.
Keep the clip tied to one point. If you need the audience to read a dense chart while listening to a different argument, a still slide may work better. An animated reveal is a presentation choice, not a guarantee of audience attention.
Prepare for the actual screen
Choose widescreen when your deck uses a widescreen layout. Check the drawing inside the slide, not just in the generation preview. A line that looks clear on your laptop may be difficult to see on a projector, and a portrait image in a wide frame can leave substantial empty space.
Use larger labels, fewer annotations and sufficient contrast. Compare any important diagram with the source. When text or geometry must be exact, add the verified labels in the presentation or editor rather than depending on a drawing treatment to preserve them.
Decide who controls the pace
If you are speaking live, decide whether the drawing plays while you talk or during a deliberate pause. Watch the full clip once with your planned words. If the reveal finishes before your point, adjust the slide sequence or edit the clip. If the image is still appearing when you need to reference a detail, wait or change the visual.
Speedpaint creates the drawing clip; it does not coordinate a presenter's speaking pace or author the rest of the slide deck. Multiple scenes and precisely timed overlays require your presentation software or video editor.
Test the deck on the presentation machine
Download the video and insert it using the media workflow supported by your presentation software. Test playback on the computer and display you will actually use. Check whether playback begins on click or automatically, whether looping is enabled, and whether any audio starts unexpectedly. Those controls belong to the presentation application.
Keep a still-image version on a backup slide. If playback fails, the explanation should remain understandable. Do not rely solely on a live website or a streaming connection when presenting somewhere with uncertain internet access.
Review the whole segment
Rehearse the slide before and after the clip. The transition should follow your argument, not interrupt it. Remove music if it competes with your voice and keep any nonessential motion out of the most demanding part of the explanation.
See the image-selection examples and the narration and audio guide. Prepare your clip through the whiteboard animation page.
Turn any photo into a drawing video
Get started with 200 free trial credits ($2.00 value · 10 standard 1080p videos up to 60s). 1080p and 4K MP4 export. One-time credits that never expire.